

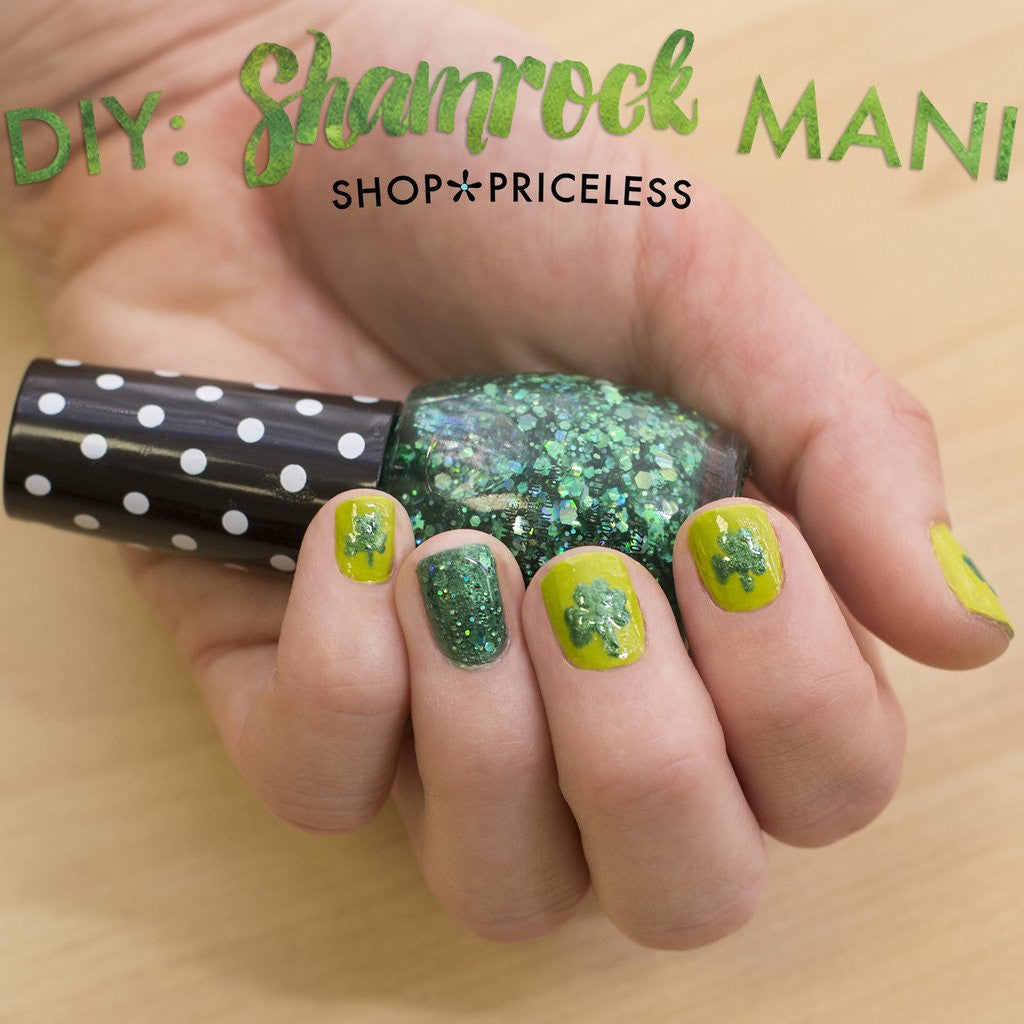

This Mani Monday is brought to you by the holiday, Saint Patrick's Day. You'll learn a quick, easy, and cheap trick for painting shamrocks (or flowers) on any manicure!


Supplies:
- Nail Clippers
- Nail Polish Remover
- Cotton Pads
- Cotton Swabs
- Bobby Pins
- Nail polish
- Nail polish remover
- Piece of plastic (empty eyeshadow case, water bottle cap, whatever)
Step 1:
Clean up your nails. You should always use nail polish remover before painting your nails, regardless of whether they have paint on them or not. This will help clean the surface of your nails and prepare them to be painted.
Step 2:
Clip and shape your nails. Using your clippers and file get your nails looking pretty and to a length where they won't break and can grow.
(Optional Step 2.5: using cuticle oil, soften your cuticles, gently push them back and then trim.)
Step 3:
Apply a clear base coat. This is especially important for this tutorial, because green nail polish will stain your nails and leave them looking yellow and fungus-y when you go bare again.

Step 4:
Apply 2-3 coats of your base color. Make sure you let the coats dry between applications, or it'll smudge. We painted the ring finger a different color for a pop of contrast. Clean up any excess that gets on your fingers with a cotton swab and a bit of remover. Or, if you've got a couple of hours, it should come off within a few hand washes.

Step 5:
Apply a couple blobs of your shamrock color onto your piece of plastic. Bend your bobby pin open and using the rounded ends, dip into the paint. Then apply dots to your nails. Shamrocks can have 3-4 heart shaped leaves, so you'll probably need 2 dots per leaf. Make the dots, and then use the bobby pin to drag the excess toward the center, creating the leaves. To use the excess, this will have to be done quickly, or you can just fill in the center space. Then, redip and use the pin to make a stem. Ta Da! You can also use this method to make polka dots or flowers. It's great because then you don't have to buy expensive nail art pens or special polish with skinny brushes. (There are 7 pictures for this step to show you how to create the shamrock)
Blob Paint:

Dip Bobby Pin:

2 dots for left leaf:

2 dots for center leaf:

2 dots for right leaf:

Pull to center/Fill In:

Add the stem:

Step 6:
Top your ring finger with some sparkle if you want.

Step 7:
Seal the job with a clear top coat to protect your mani and give it a smooth finish.

Now you're ready to celebrate St. Patty's Day in style.
